

A FPS sci-fi shooter following a strong narrative by the popular sci-fi writer Ondřej Neff
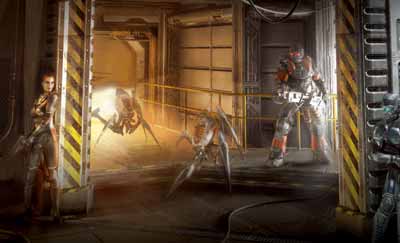
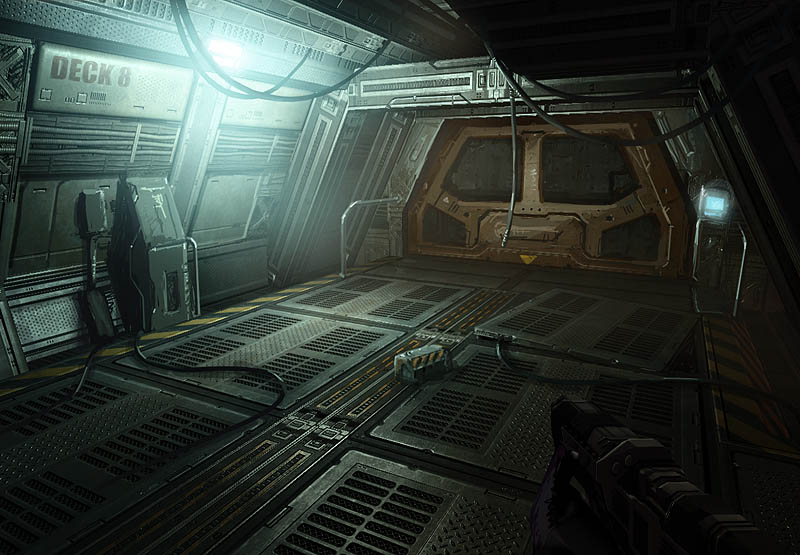
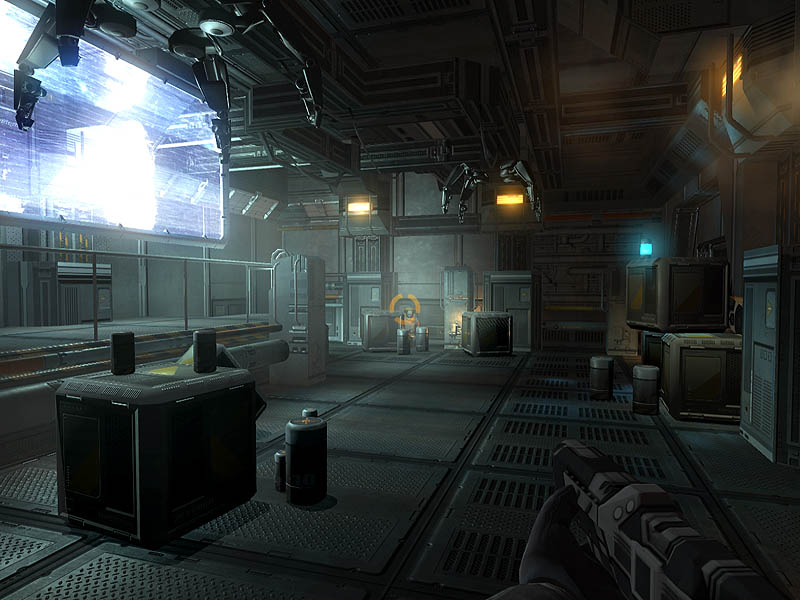
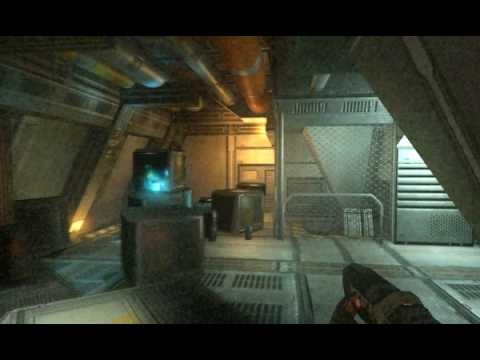
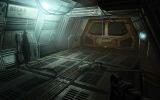
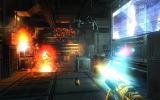
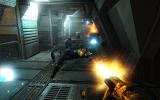
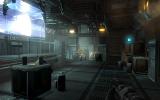
The player will be dropped into the maze of rooms, halls, corridors, mining facilities and shafts of an apparently abandoned deep-space asteroid mining base, facing rebellious machinery of assorted robots and automatic systems, which he has to defeat and demolish, using his weapons and wits.
- GENRE: FPS
- DEVELOPER: Bohemia Interactive
- RELEASE DATE: November 8, 2007
- PLATFORMS: windows pc